Interfacing Finger Detecting Heartbeat with Arduino
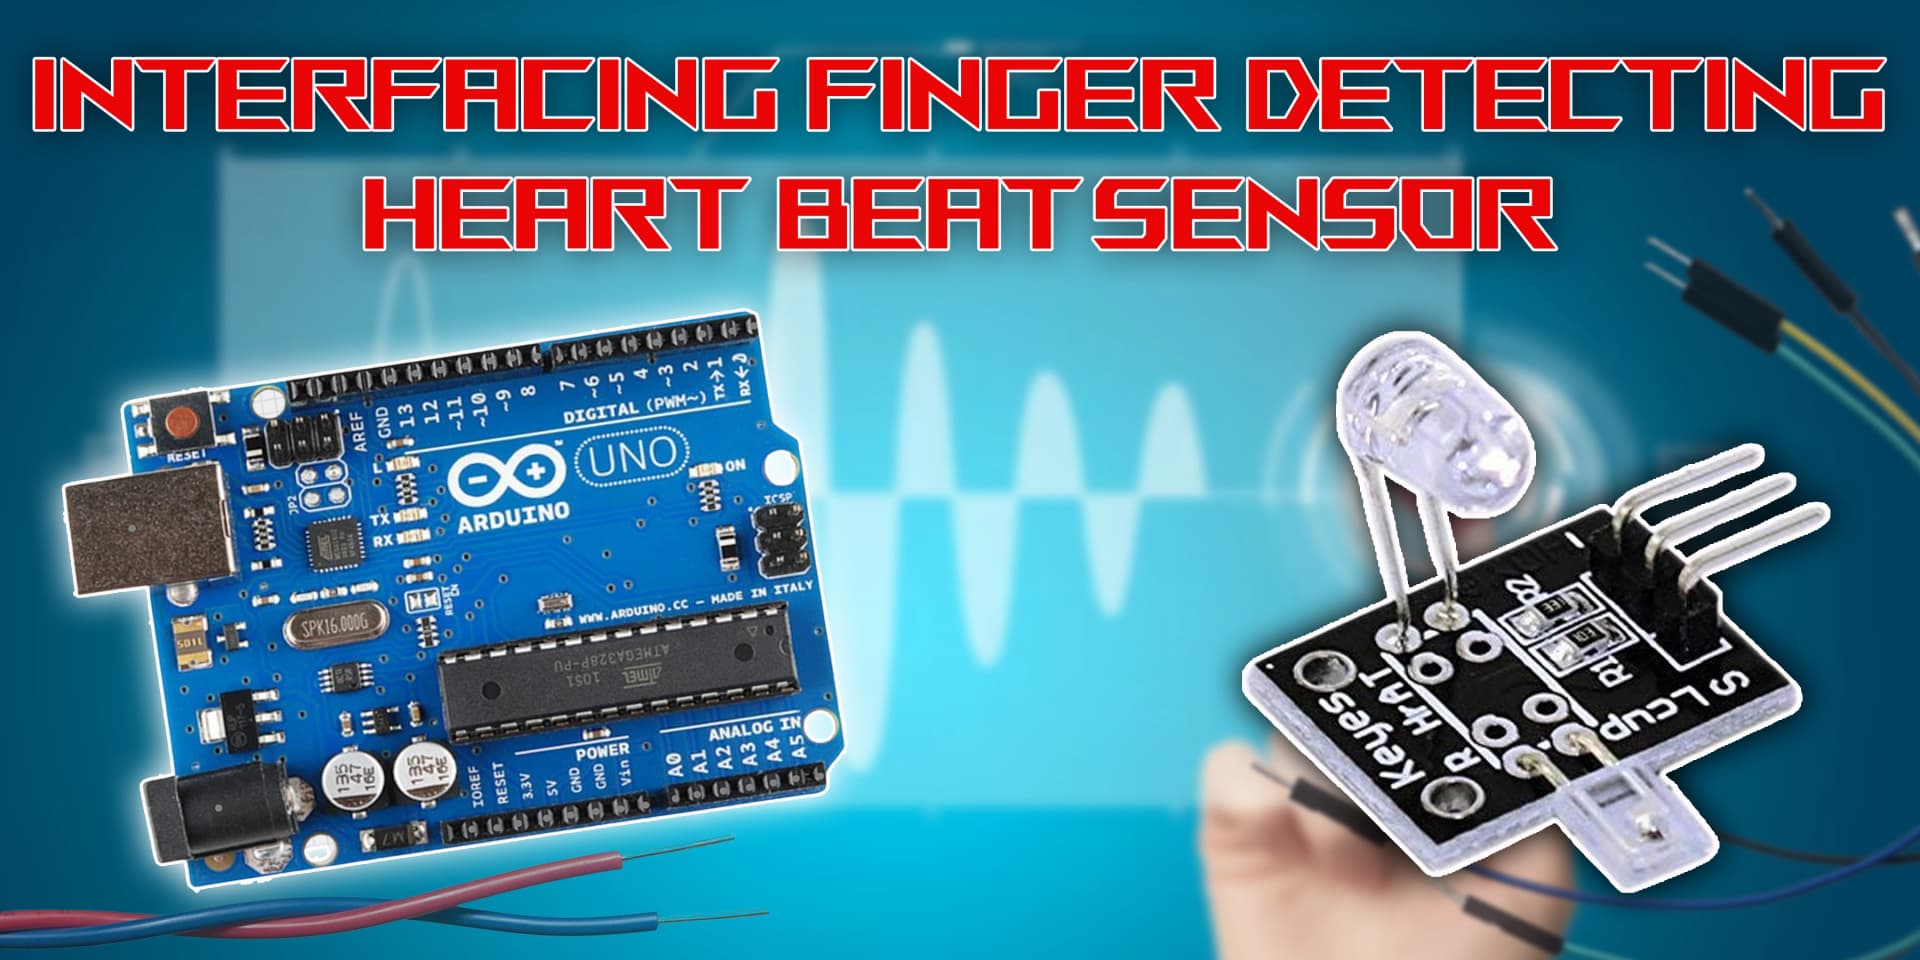
Finger Detecting Heartbeat Sensor
A finger detecting heartbeat sensor is used to measure the pulse rate by detecting the blood flow in the finger. It works by shining infrared light through the skin and measuring the amount of light reflected by the blood vessels. The sensor provides a signal to the Arduino, which can be processed to calculate the heart rate in beats per minute (BPM).
How Finger Detecting Heartbeat Sensor Works
The sensor has an LED that emits infrared light, which passes through the finger and reflects off the blood vessels. A photodiode detects the reflected light and converts it into an electrical signal. The frequency of the signal corresponds to the heartbeat, and this information is sent to the Arduino for further processing.
Wiring the Finger Detecting Heartbeat Sensor to Arduino
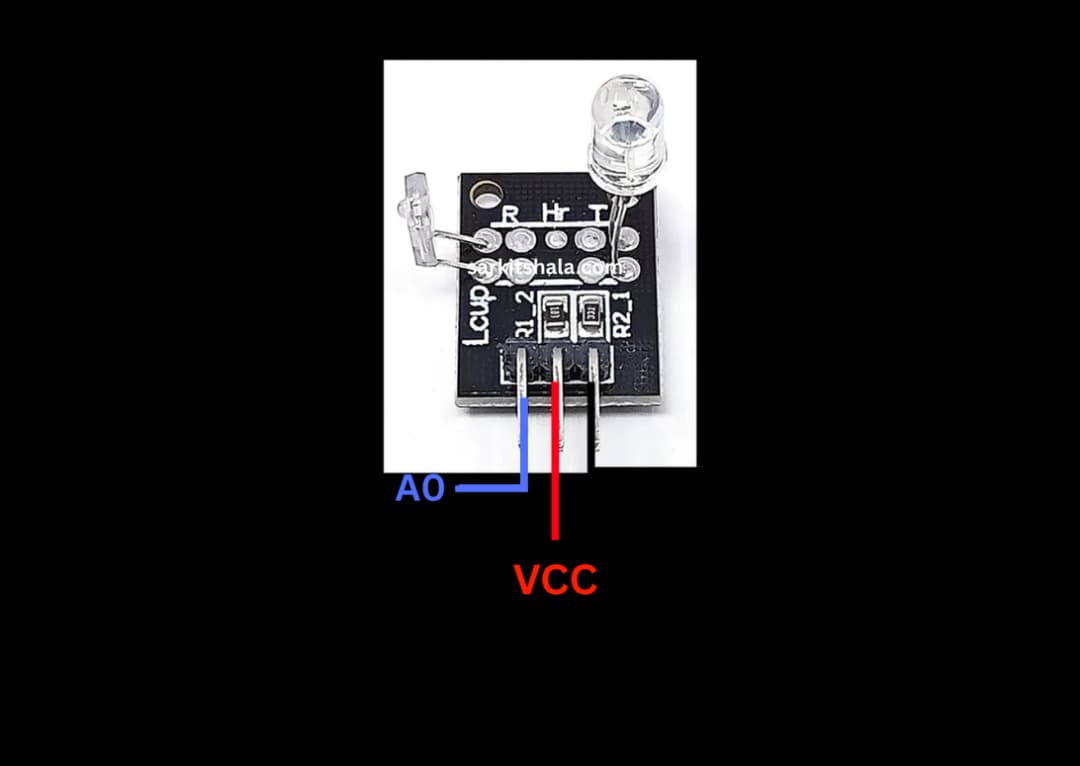
To wire the pulse sensor to the Arduino, connect the VCC pin to +5V, the GND pin to ground, and the Signal pin to an analog input pin (e.g., A0) on the Arduino. The sensor will measure the pulse from the finger and send an analog signal to the Arduino.
Types of Finger Detecting Heartbeat Sensors
Optical Pulse Sensor
- The sensor emits infrared light through the finger.
- The photodiode detects the reflected light and produces an electrical signal.
- The Arduino processes the signal to calculate the heart rate.
Photoplethysmogram (PPG) Sensor
- It works by measuring light absorption through the skin and detecting fluctuations in blood volume.
- The Arduino uses the signal to derive the heart rate by analyzing the variations.
Pin Configuration of Finger Detecting Heartbeat Sensor
Pulse Sensor
- VCC: Connect to +5V on Arduino.
- GND: Connect to GND on Arduino.
- Signal: Connect to an analog input pin (A0).

Algorithm
Initialize Components
- Connect the VCC and GND pins of the pulse sensor to +5V and GND on the Arduino.
- Connect the Signal pin of the sensor to an analog input pin (A0).
Write the Code
- In the setup() function, initialize the serial monitor and set the analog pin for input.
- In the loop() function, read the analog signal from the sensor and map it to the heartbeat rate.
- Use an algorithm to detect peaks in the signal and calculate the BPM.
Process the Sensor Data
- The Arduino will read the analog data from the sensor and filter it to extract heartbeats.
- The frequency of the peaks in the data will correspond to the heart rate in beats per minute (BPM).
Display the Heart Rate
- The heart rate (BPM) is displayed on the serial monitor for real-time feedback.
- You can modify the program to show the heart rate on an LCD screen or use a buzzer to notify the user of abnormal heart rates.
Test the Project
- Upload the code to the Arduino and test the system by placing your finger on the sensor.
- Observe the heart rate calculation on the serial monitor or other display options.
Arduino Code
1// Arduino Finger Detecting Heartbeat Sensor Interface
2// This code reads pulse sensor data and calculates heart rate (BPM)
3
4const int pulsePin = A0;   // Signal pin connected to analog pin A0
5int signal;                // Variable to store sensor value
6int threshold = 550;       // Threshold value for heartbeat detection
7int bpm;                   // Beats per minute
8unsigned long lastBeatTime = 0;
9int beatCount = 0;
10
11void setup() {
12  Serial.begin(9600);         // Start serial communication
13  pinMode(pulsePin, INPUT);   // Set pulsePin as input
14  Serial.println(\"Heartbeat Sensor Ready - Place your finger on the sensor\");
15}
16
17void loop() {
18  signal = analogRead(pulsePin);  // Read analog value from sensor
19  Serial.print(\"Pulse Signal: \");
20  Serial.println(signal);
21
22  if (signal > threshold) {
23    unsigned long currentTime = millis();
24    if (currentTime - lastBeatTime > 300) { // Debounce to avoid false triggers
25      beatCount++;
26      lastBeatTime = currentTime;
27    }
28  }
29
30  // Calculate BPM every 10 seconds
31  if (millis() % 10000 < 50) {
32    bpm = beatCount * 6;  // Because 10 seconds * 6 = 60 seconds
33    Serial.print(\"Heart Rate: \");
34    Serial.print(bpm);
35    Serial.println(\" BPM\");
36    beatCount = 0;
37  }
38
39  delay(20); // Small delay to smooth readings
40}
Applications
- Personal health monitoring systems
- Fitness trackers
- Wearable health devices
- Medical diagnostic tools
- Heart rate monitoring in medical devices
- Remote health monitoring systems
Conclusion
Interfacing a finger detecting heartbeat sensor with Arduino is a straightforward way to monitor your pulse rate. This DIY project allows you to build your own heart rate monitoring system, which can be used in health and fitness applications. By processing the sensor data with Arduino, you can accurately measure and display the heart rate in beats per minute.